
Getting Started with the API
A quick start guide covering authentication, sender verification, technical details and important concepts about the API.
Authentication (API Key)
Every request that you make to the SMTP2GO API must be authenticated by using an API Key from your account.
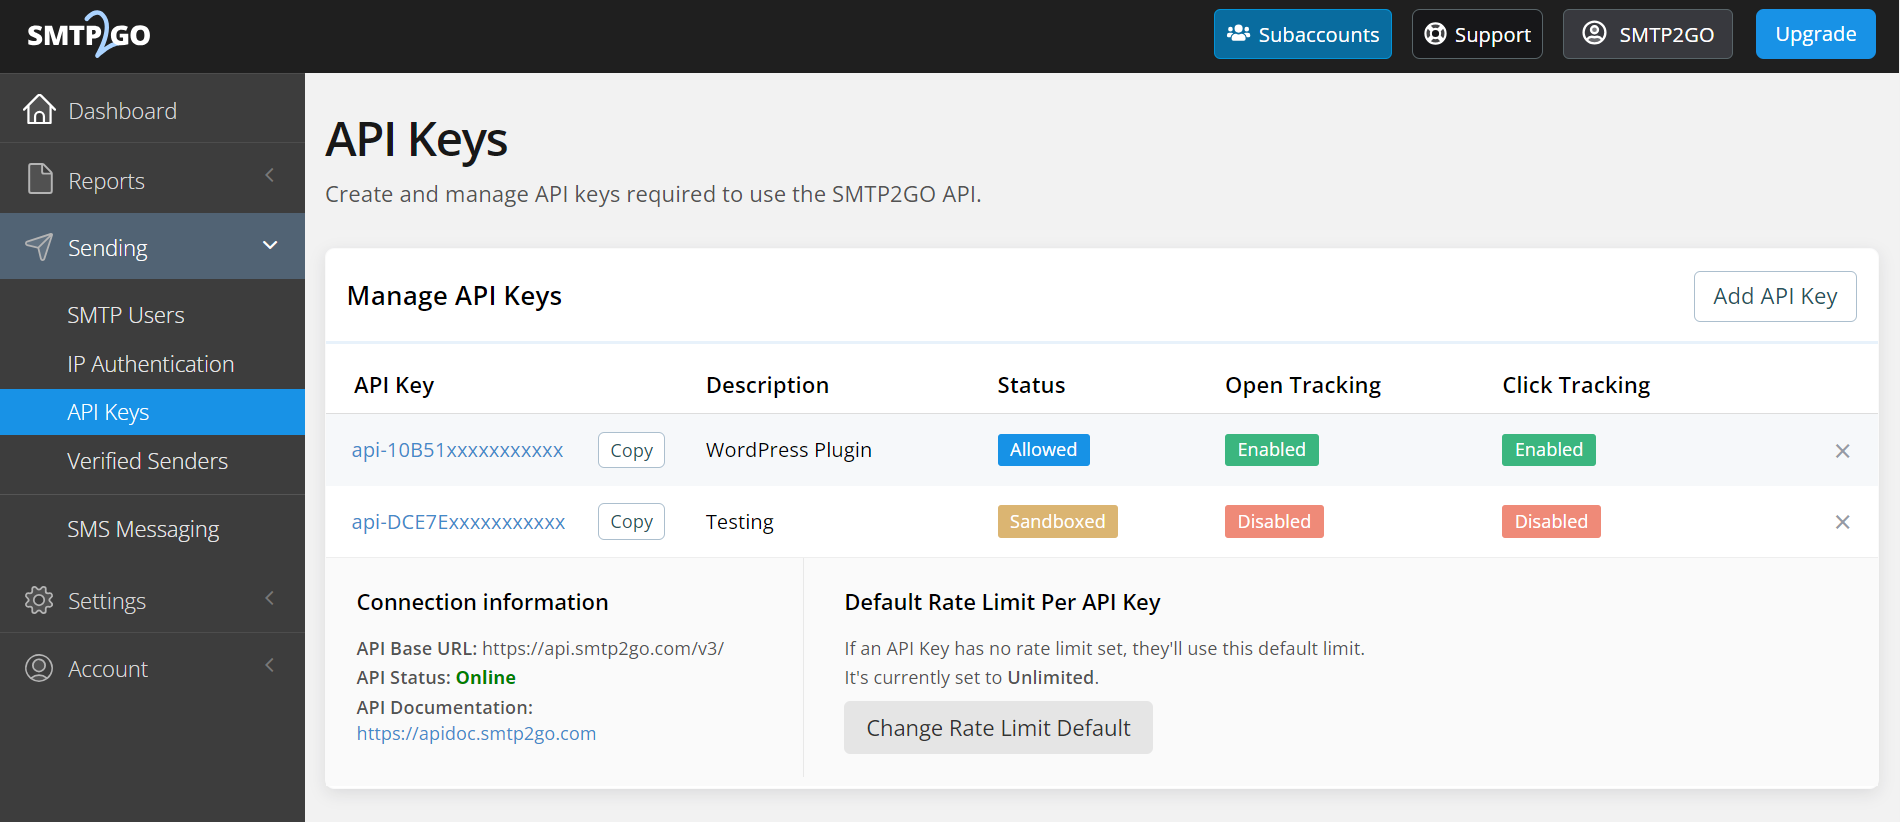
You can add and manage API Keys in your SMTP2GO account by navigating to the "Sending > API Keys" section from the left-side menu. API Keys are 32 characters long with an api- prefix followed by 32 generated characters.
Help keep your API key safe by not committing it into public source control and preferring instead to keep it in system environment variables
API Key Settings and Customisation
During the setup of your API Key and at any time thereafter, you can modify the following:
- Set the Description of your API Key to show a friendly identifier.
- Set a Rate Limit for your API Key. This defaults to unlimited.
- Set the Permissions for your API Key. You can specify permissions to determine whether the key can access a particular endpoint.
- Enable the Unsubscribe Footer.
- Enable Open Tracking.
- Enable Click Tracking.
- Temporarily Disable your API Key or set it to Sandbox Mode.
- Enable Email Archiving.
- Set a BCC Address for Email Auditing.
- Enable Bounce Notifications.
Sender Verification
Sending from a verified sender is mandatory and is managed on the "Sending > Verified Senders" section of the App or via the API by using the domain and single_sender_emails endpoints.
The two verification options include verifying the domain as a ‘Sender domain’ (recommended for SPF and DKIM alignment) or verifying the specific From address as a ‘Single sender email’ address.
Attempts to send from an unverified sender will be rejected. For further details, please view our 'Verified Senders: Sender Domain vs Single Sender Emails' support article.
Once sender verification is complete and you’ve added the API Key, you are ready to begin structuring your API request.
Technical Details
To work with the API, please adhere to the following guides:
- All API Calls must be made with the appropriate request type as shown.
- All input to and output from the API is made using JSON objects.
- All calls return a JSON payload consisting of a result string and any data that was returned.
- Any 200 OK responses indicate a successful call.
- Every request you make to the SMTP2GO API must authenticate with an API Key by either including the api_key field or you can include an X-Smtp2go-Api-Key field in your header.
{
    "api_key": "YourAPIKeyHere",
    "search_subject": "Booking",
    "event_types": ["opened", "clicked"],
    "only_latest": true,
    "limit": 1
}
{
'Content-Type': 'application/json',
'X-Smtp2go-Api-Key': 'YourAPIKeyHere'
}Failure to supply an API Key, or supplying an API Key that is invalid or disabled, will result in a 401 - Unauthorized status code (See 'Response Codes' for full details).
Points to note
Maximum email size
The maximum email size when sending via the API is 50 MB (this includes content, attachments and headers).
Maximum number of recipients per email
The maximum number of recipients per email for each of the To, CC and BCC fields is 100. It is important to note that each recipient will count as one email from your plan's monthly quota.
Subaccounts
Certain API calls can be performed on subaccounts, using a parent/master account's API Key. The relevant subaccount is specified by including the 'subaccount_id' parameter in the API call. Currently supported endpoints mention this parameter in our documentation.
Attachments
Attachments are specified using the 'attachments' parameter in the request body which contains an array of objects. View the "Adding Attachments" guide to see the options available to include attachments with examples.
Updated 3 months ago